This technique allows you to pull the end of your yarn and close up that little hole that
Showing posts with label How-To Tuesdays. Show all posts
Showing posts with label How-To Tuesdays. Show all posts
Tuesday, October 25, 2011
How-To Tuesday: Magic Circle
This is one of my favorite techniques for starting any project that I will be working in the round! When I began crocheting, one of the first projects I made was a beanie for my son. The pattern said to chain 4 and join with a slip stitch to create the top of the hat, which of course creates a tiny hole. This drove me BONKERS! I know, it really isn't that big of a deal, but why couldn't I close up that hole? I figured with enough stitches in the hole it would be sealed up, but it was never quite to my satisfaction. So, I went searching for a better way... And along came the Magic Circle!
This technique allows you to pull the end of your yarn and close up that little hole thatbothers me so much occurs when you simply chain and join.
This technique allows you to pull the end of your yarn and close up that little hole that

Tuesday, October 18, 2011
How-To Tuesday: Treble Crochet
Treble Crochet (TC) stitches create height. I've used them in the Batman-Inspired Costume to create height and fill in space on the mask. Treble Crochet stitches are a basis for some decorative stitches as well, so they're definitely worth knowing, even though they may not be the most widely used stitches!
Picture Tutorial
 |
| I've already made one TC. Now, to make another! |
 |
| Yarn over twice |
 |
| Pull up two loops |
 |
| Yarn over again |
 |
| Pull up two loops again |
 |
| Yarn over again |
 |
| Pull up last two loops |
 |
| Treble Crochet (TC) made! |
Tuesday, October 11, 2011
How-To Tuesday: Double Crochet & Slip stitch + Bonus Pattern!
Ah, another Tuesday! I hope you're all sharing the blog with your friends and thinking about what you're going to do with your cute legwarmers! ;) Ready for another lesson in the art of crochet?
Double Crochet - DC
Slip Stitch - Sl st
A slip stitch is very easy. I made a video tutorial, but I can explain it very easily as well. Insert your hook where the stitch is to be made. Yarn over and pull through both loops, leaving only 1 loop on hook. Slip stitch done. :)

Double Crochet - DC
 |
| You're going to start crocheting into the 3rd chain from the hook. |
 |
| Insert hook in the 3rd chain from the hook |
 |
| Yarn over |
 |
| Pull up one loop (leaving 3 loops on the hook) |
 |
| Yarn over again |
 |
| Pull up 2 loops (leaving 2 loops on the hook) |
 |
| Yarn over again |
 |
| Pull up 2 loops (leaving one loop on the hook) Double crochet is finished! |
A slip stitch is very easy. I made a video tutorial, but I can explain it very easily as well. Insert your hook where the stitch is to be made. Yarn over and pull through both loops, leaving only 1 loop on hook. Slip stitch done. :)
How about a super-duper easy pattern for the little girl in your life?
Toddler Girl's Striped Legwarmers
Materials:
*H Hook
*Red Heart Yarn in Black and Orange (or whatever colors you'd like to stripe!)
*scissors
Begin with color 1 (For me, that was black)
Ch 25. Join with sl st in first ch.
R1: Ch 2. DC in each ch around. Join with sl st in top of first DC. Tie off, snip end.
R2-R13: Change colors. Ch 2. DC in each ch around. Join with sl st in top of first DC. Tie off, snip end.
**TIP** When changing colors, you get a lot of little loose ends that can be super annoying to weave in at the end. I have an easy fix for that. You can cover them up as you go along by crocheting over them! Make your first round of DC and join, as directed. After you snip off the end, lay that end on top of your row. As you crochet, you'll stitch right over the end, hiding it and holding it in place. :)

Tuesday, October 4, 2011
How-To Tuesday: Single Crochet (SC)
A single crochet is the very basic of crochet stitches. Learning to single crochet will make it easier to learn other crochet stitches and is, in fact, a basis for many designer stitches. Single crochet stitches are abbreviated as SC.
First, a video tutorial and then a picture tutorial.
First, a video tutorial and then a picture tutorial.
Picture Tutorial
 |
| I've begun by making a slipknot to attach my yarn to my hook, then made a series of chains. I started with about 10 chains, just for the sake of practice. |
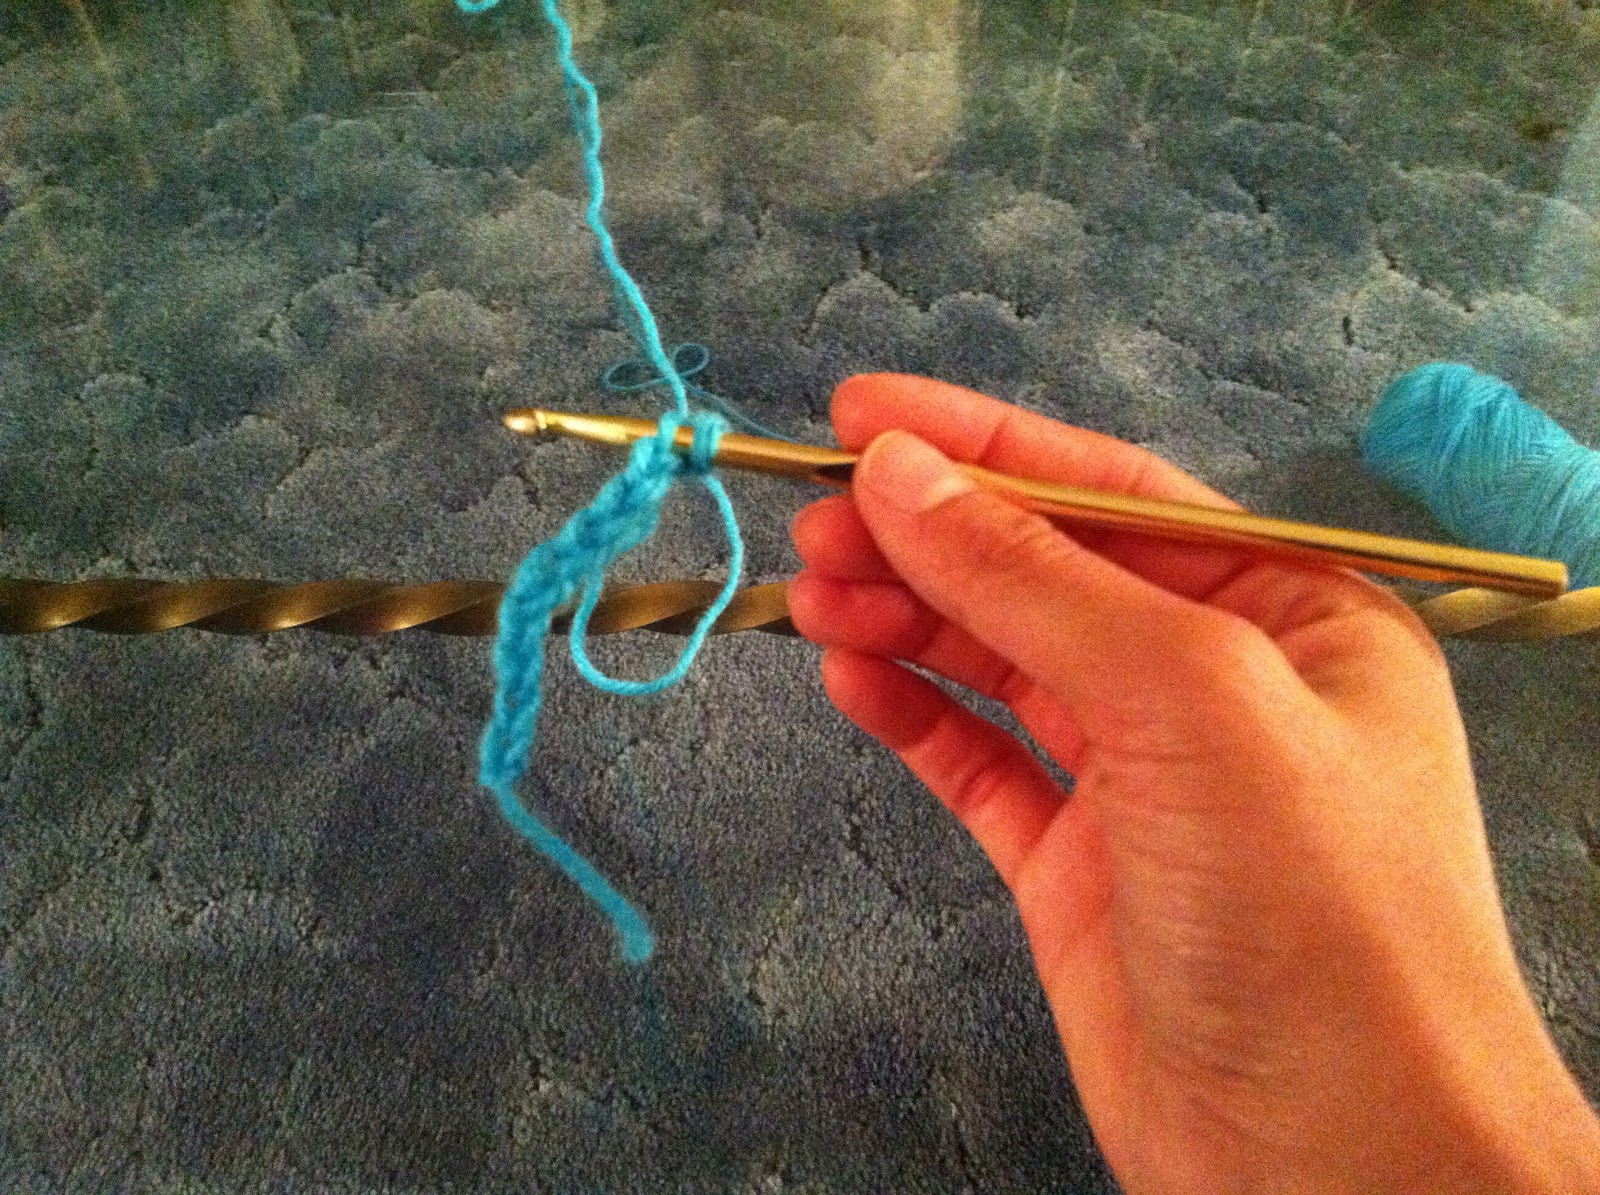 |
| Single crochet stitches are 1 stitch high. To create that height for the row, skip the first chain from the hook and insert your hook in the middle of the second chain. There should be 2 loops on your hook. |
 |
| Yarn over the hook. |
 |
| Draw yarn through 1 loop. There are 2 loops on the hook again. |
 |
| Yarn over the hook again. |
 |
| Draw the yarn through both loops on your hook This finishes your single crochet stitch. |
 |
| Continue crocheting across in each chain. When you get to the end of the row, there will be no more chains to crochet into. Now you can begin work on the next row. |
 |
| Since single crochets are 1 stitch in height, we need to create that height for the next row. To do this, we make 1 chain stitch. |
 |
| Now, turn your work over so that you can begin crocheting the next row. |
 |
| Skip the chain stitch (it is there to create height) and insert your hook under both loops of the next stitch. |
 |
| Yarn over the hook and draw up the yarn under the two loops that you inserted the hook under. There are now 2 loops on the hook. *Note: Sometimes you will work in only the front loop or only the back loop. If working with a pattern, the pattern should specify this as it applies to the work. If the pattern says only to single crochet, then you will work in both loops. |
 |
| Yarn over the hook again. |
 |
| Draw yarn through both loops. One loop on hook, single crochet completed. |
 |
| Continue to end of row. |
 |
| A small block of single crochet stitches. Happy Crocheting! |
Tuesday, September 27, 2011
How-To Tuesdays: Slip Knots & Chains
I realize that many of my friends don't know much about crochet. I am a crafter of all kinds, but have found that crochet is by far my favorite. Once you get it down, it's a great way to keep your hands busy. It's very soothing, and can be a relaxing way to unwind at the end of the day or on a lazy Sunday. So, I would love to share it with you! Ready for a crash course in crochet basics? Here we go!
To begin crocheting, you don't need much. Just a crochet hook, some yarn and some scissors.
To begin, we need to attach the yarn to the hook using a slip knot. Here is a video tutorial, and then a picture tutorial. :)
Now, you can begin creating a foundation chain! A foundation chain is the beginning of your piece. The number of chains you make will determine how big your piece will be.
This takes a bit of coordination and getting used to, so don't feel bad if it takes a while to get it down! In fact, why don't you take this week to practice? ;) Come back next Tuesday and we will learn our first stitch!
To begin crocheting, you don't need much. Just a crochet hook, some yarn and some scissors.
 |
| This picture just won't rotate, I'm sorry! |
To begin, we need to attach the yarn to the hook using a slip knot. Here is a video tutorial, and then a picture tutorial. :)
Picture Tutorial
 |
| Hold yarn between ring finger and pinky finger |
 |
| Wrap yarn over the top of index finger, behind fingers and back to top of index finger |
 |
| Insert hook from right to left, under first string, over second string |
 |
| Using hook, pull second string under the first |
 |
| Grab both the end of the string and the string attached to the rest of the yarn (the skein) and pull gently |
 |
| This creates the knot |
 |
| Let go of the end of the yarn, but pull gently on the yarn still attached to the skein. This will bring the knot to the hook. You'll want the yarn to be snug against the hook, but not so tight that the knot isn't able to slide easily up and down the hook. This is important, as you will be sliding the yarn across the hook when you make your stitches. |
Now, you can begin creating a foundation chain! A foundation chain is the beginning of your piece. The number of chains you make will determine how big your piece will be.
 |
| Start with a slipknot. Lucky you, you just learned how to make one! ;) |
 |
| Wrap the yarn over the hook. From the bottom, wrap the yarn up and behind the hook, then down and in front of the hook. |
 |
| Using the hook, pull the wrapped yarn through the existing loop on the hook. |
 | ||
| Continue the process again. |
 |
| When following (or creating) a pattern, a chain foundation is the most common way to begin. Practice the chain technique until you can comfortable move through it. You don't want your chains to be too loose, or your work will easily stretch and look sloppy. You also don't want your chains to be too tight, or you won't be able to reenter them to continue your stitches. Keep your stitches about the size of the circumference of your hook. You'll have to gauge the tension by feel. This takes time and practice, so don't feel bad if it takes you a while to get it! It took me a while before I really got my tension down. |
This takes a bit of coordination and getting used to, so don't feel bad if it takes a while to get it down! In fact, why don't you take this week to practice? ;) Come back next Tuesday and we will learn our first stitch!
Subscribe to:
Posts (Atom)