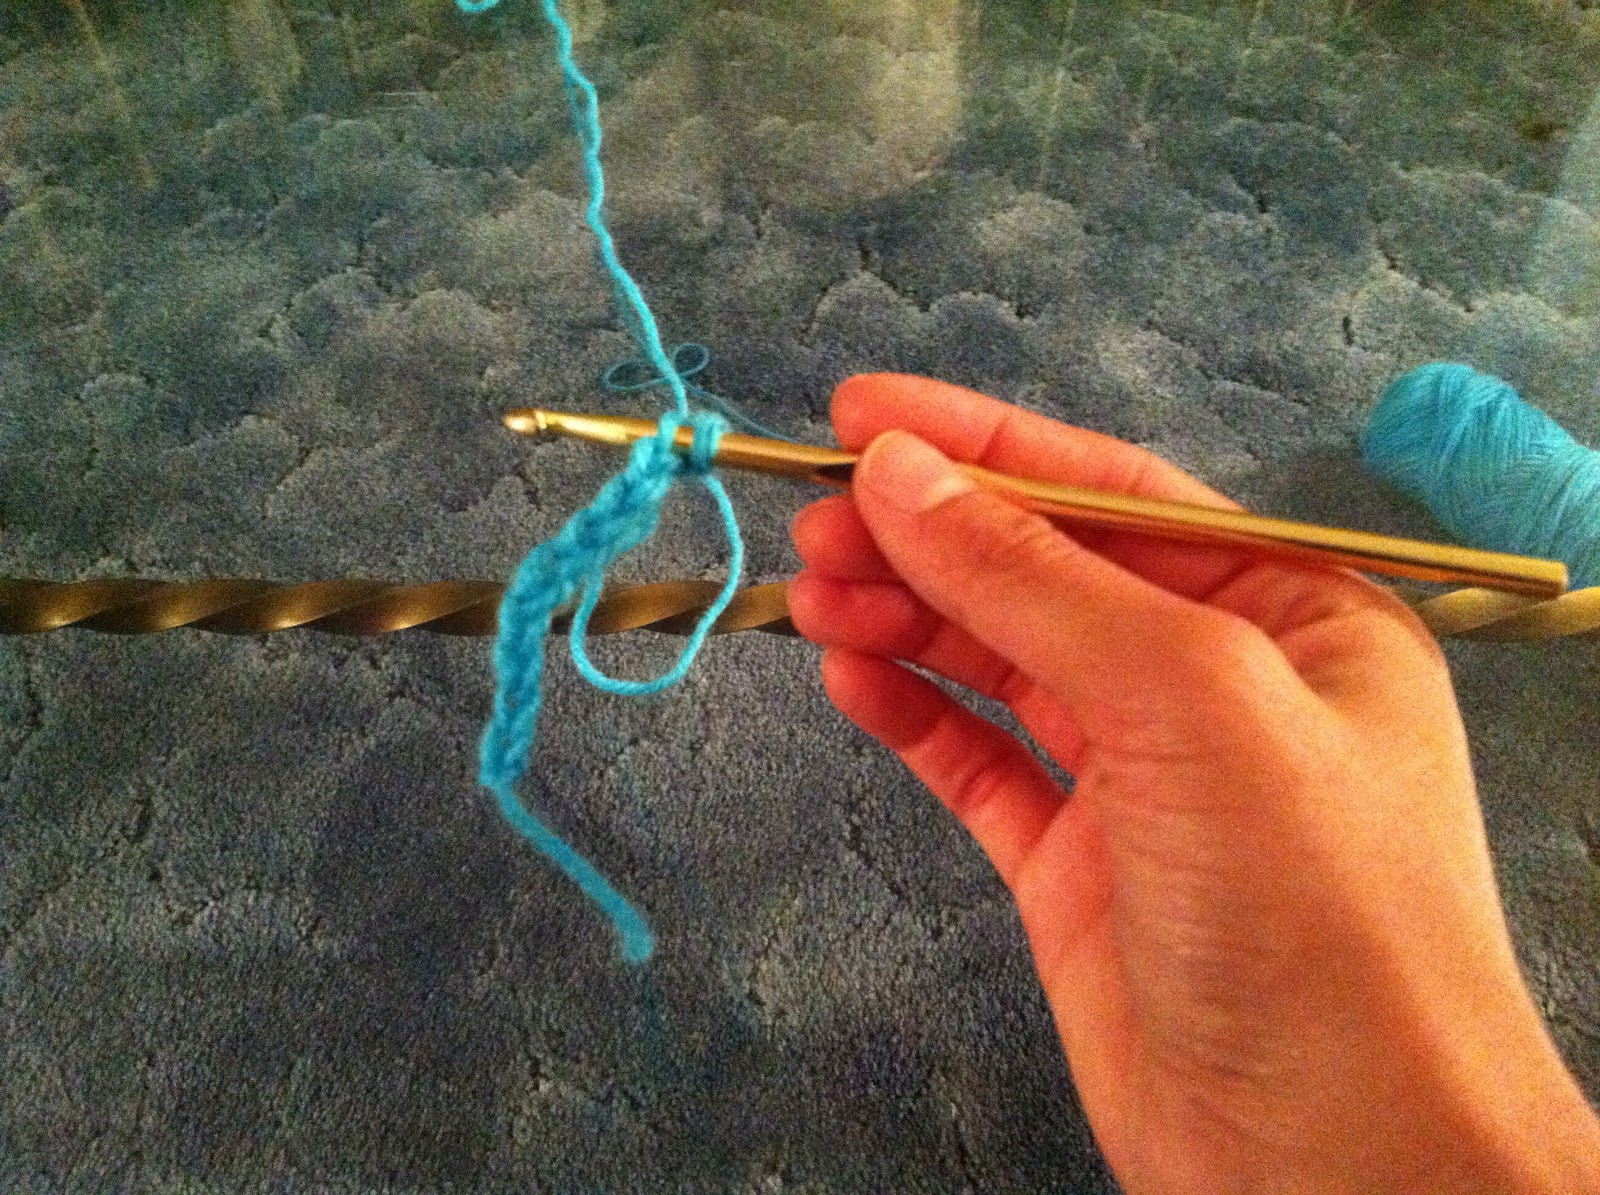
Background

Tuesday, October 11, 2011

How-To Tuesday: Double Crochet & Slip stitch + Bonus Pattern!

Ah, another Tuesday!  I hope you're all sharing the blog with your friends and thinking about what you're going to do with your cute legwarmers!  ;)  Ready for another lesson in the art of crochet?

Double Crochet - DC


You're going to start crocheting into the 3rd chain from the hook.

Insert hook in the 3rd chain from the hook

Yarn over

Pull up one loop (leaving 3 loops on the hook)

Yarn over again

Pull up 2 loops (leaving 2 loops on the hook)

Yarn over again

Pull up 2 loops (leaving one loop on the hook) Double crochet is finished!
Slip Stitch - Sl st

A slip stitch is very easy.  I made a video tutorial, but I can explain it very easily as well.  Insert your hook where the stitch is to be made.  Yarn over and pull through both loops, leaving only 1 loop on hook.  Slip stitch done.  :)


How about a super-duper easy pattern for the little girl in your life?

Toddler Girl's Striped Legwarmers

Materials:
*H Hook
*Red Heart Yarn in Black and Orange (or whatever colors you'd like to stripe!)
*scissors

Begin with color 1 (For me, that was black)
Ch 25.  Join with sl st in first ch.
R1: Ch 2.  DC in each ch around.  Join with sl st in top of first DC.  Tie off, snip end.
R2-R13: Change colors.  Ch 2.  DC in each ch around.  Join with sl st in top of first DC. Tie off, snip end.

**TIP** When changing colors, you get a lot of little loose ends that can be super annoying to weave in at the end.  I have an easy fix for that.  You can cover them up as you go along by crocheting over them!  Make your first round of DC and join, as directed.   After you snip off the end, lay that end on top of your row.  As you crochet, you'll stitch right over the end, hiding it and holding it in place.  :)


Monday, October 10, 2011

My First Giveaway!


See those ADORABLE legwarmers I just posted the pattern for?  I listed them in my Etsy shop for $15... but you can score yourself a pair for FREE!  Wanna know how?  Of course you do! ;)

All you need to do is follow the blog, follow us on Facebook and/or send your friends over!  They can either (1) Follow The Blog, or (2) Follow Design Adventures on Facebook.  Every friend you send over gets you AND them an entry!  Just be sure that your friends leaves a comment on this post or on the Facebook Wall of who sent them over so I can properly credit you.

The giveaway is open to all of my Facebook Friends and followers of the blog!  The winner will be announced on Friday!  Happy Sharing!

Leg Warmers


Super cute legwarmers with shell edging detail!  These are so fun to wear and they are WARM!  Ha ha!  The weather has been a little kooky lately.  Just 2 weeks ago we were running the A/C and then one morning we just woke up and needed the heater on!  No in-between (otherwise known as "autumn" or "fall"), straight from hot to cold.  Now, YOU need a pair of legwarmers!!

This project didn't take me long at all.  You could easily whip these up while watching a movie... like I did.  ;)

Check it out! We've been featured on Social Salutations: Friday, I'm in Love!


Super Cute, Fun & Easy Leg Warmers

Materials needed:
*H hook
*Red Heart Super Saver yarn in Coffee
*Coordinating buttons - I used 6, 3 on each legwarmer.  This could be cute with one button in each shell, going all the way down...  or even without buttons!  It's up to you!

Stitches Used:
ch=chain
DC=double crochet
SC=single crochet
Sl st=slip stitch

Ch 47
R1: DC in 3rd ch from hook and each ch across.  Ch 2, turn.
R2-22: DC in each stitch across.  Ch 2, turn.
R23: DC in each stitch across.  Turn work.
R24: 5 DC in 2nd stitch (shell).  *Skip 2 stitches, SC, Skip 1 stitch, 5 DC in stitch (shell).* Repeat *-* to end of last shell. (9 shells made).  Sl st in last stitch.  Tie off & weave in ends.

Repeat to make second leg warmer.

Friday, October 7, 2011

Crochet in the news

I remember when a friend of mine at work told me that she crocheted.  I thought, isn't that what cute little old ladies do when they want to make an heirloom to pass on to the grandkids?  I've seen some crocheted items and really didn't have much of an interest.  I liked fun, modern, romantic things...  and all I could picture was a sweet old lady making oddly colored afghans.  Then, my friend came to work with a top she had made for her daughter and I saw crochet from a completely different angle!  I set my prejudice aside and started to see more of the things she had made.  I saw things that others had made in the community, then on the Internet and I was blown away!  The talent these people had was amazing!  I was hooked (pun intended) and decided I wanted to learn.  Thus, my love for crochet was born!

I'm always happy to read about others who share my passion.  My fantastic husband brought this article to my attention yesterday and I wanted to share it.  Yes, I know he's a cute little old man, but who doesn't need to find an activity that helps you to calm your nerves...  and could win you prizes!

http://www.thespectrum.com/article/20111006/LIFESTYLE/111006003/Local-man-crochets-therapy-hobby?odyssey=nav%7Chead

Also, I wanted to give a shout out to my new blogging friends and ask you all to find me on Facebook!  Check out Design Adventures on Facebook and keep up with everything that's coming up.  I may even need to start doing some giveaways!  ;)

Thursday, October 6, 2011

Silly Spider Earflap Hat


Super fun hat for Halloween!


Materials:
*Red Heart Yarn in white and black
*I Hook
*Yarn needle
*Scissors

Magic Circle (Or ch 4, sl st into first chain to make ring)
R1: 8 DC in ring, ch 2.
R2: 2 DC in each stitch around, ch 2.
R3: *2 DC in first stitch, 1 DC in next.  Repeat around.  Ch 2.
R4: *2 DC in first stitch, 1 DC in next 2 stitches.  Repeat around.  Ch 2.
R5: *2 DC in first stitch, 1 DC in next 3 stitches.  Repeat around.  Ch 2.
R6: *2 DC in first stitch, 1 DC in next 4 stitches.  Repeat around.  Ch 2.
R7: *2 DC in first stitch, 1 DC in next 5 stitches.  Repeat around.  Ch 2.
R8: *2 DC in first stitch, 1 DC in next 6 stitches.  Repeat around.  Ch 2.
R9-R10: DC in each stitch around.  Ch 2.
R11: DC in each stitch around.  Tie off, weave in ends.

Earflaps (Will make on both sides)
Lay hat flat.  Find center stitch at the bottom of the hat.  This will be the center point of your earflap.  Sometimes I get a little bit of a "seam" at the point of a new round on my hats, so I choose to put this in the back if it bothers me.  This means, when you lay the hat flat, you'll want to have the "seam" to one side.

Count 4 stitches to the right.  This is where you will begin stitching.

Attach yarn to hat with sl st.  Ch 2.
R1: 8 DC.  Ch 2.
R2: DC dec in next 2 stitches.  DC in next 2 stitches.  DC dec in last 2 stitches.  Ch 2.
R3: DC dec in next 2 stitches.  DC in next stitch.  DC dec in last 2 stitches.  Tie off, weave in ends.

Make earflap on opposite side in same fashion.

Switch to black.  SC around the bottom of the hat and earflaps.

Using yarn needle and black yarn, create spiderweb effect.  I used an embroidery stitch, but there are lots of ways to stitch onto the hat!  If you'd like to use the embroidery stitch, here is what I did:

Cut a long length of yarn.  I had to do this several times throughout the process, so don't be nervous about running out because you can just get more.  Insert needle and yarn through the back side of the work, at the top center of the hat and pull through.  Leave a tail on the back side of the yarn to tie off.  Now, insert hook in the same place you just pulled the yarn through.  Begin to pull yarn through, but only enough that you leave a loop on the right side.  Before pulling yarn all the way through, insert hook from back side to where you'd like your next stitch to be, being sure that the needle comes through the loop made in the previous stitch.  Pull up your yarn and the previous stitch will now be anchored, and the next stitch is now begun!


Spider Tassles:
Make Magic Circle (Or ch 3, join with sl st)
8 SC in center of circle.  Join with sl st at top of first SC.  Chain 25 and join to hat with a sl st.  Tie off and weave in ends.

Tuesday, October 4, 2011

How-To Tuesday: Single Crochet (SC)

A single crochet is the very basic of crochet stitches.  Learning to single crochet will make it easier to learn other crochet stitches and is, in fact, a basis for many designer stitches.  Single crochet stitches are abbreviated as SC.

 First, a video tutorial and then a picture tutorial.


Picture Tutorial

I've begun by making a slipknot to attach my yarn to my hook, then made a series of chains.  I started with about 10 chains, just for the sake of practice.

Single crochet stitches are 1 stitch high.  To create that height for the row, skip the first chain from the hook and insert your hook in the middle of the second chain.  There should be 2 loops on your hook.

Yarn over the hook.

Draw yarn through 1 loop.  There are 2 loops on the hook again.

Yarn over the hook again.
Draw the yarn through both loops on your hook  This finishes your single crochet stitch.

Continue crocheting across in each chain.  When you get to the end of the row, there will be no more chains to crochet into.  Now you can begin work on the next row.

Since single crochets are 1 stitch in height, we need to create that height for the next row.  To do this, we make 1 chain stitch.

Now, turn your work over so that you can begin crocheting the next row. 

Skip the chain stitch (it is there to create height) and insert your hook under both loops of the next stitch.
Yarn over the hook and draw up the yarn under the two loops that you inserted the hook under.  There are now 2 loops on the hook.  *Note: Sometimes you will work in only the front loop or only the back loop.  If working with a pattern, the pattern should specify this as it applies to the work.  If the pattern says only to single crochet, then you will work in both loops.

Yarn over the hook again.

Draw yarn through both loops.  One loop on hook, single crochet completed.

Continue to end of row. 

A small block of single crochet stitches.  Happy Crocheting!

Monday, October 3, 2011

Easy Ruffled Squares

I'm so excited to get going with this blog!  This is already so much fun!  Today, I have some more ruffles for you! ;)


Here is a beautiful ruffled square.  The center square is done in one piece, then the ruffled edge is added.


Here is the square without the ruffled edge.  I plan to use both squares for a baby blanket.

Want the instructions?  Of course you do!

Easy Ruffled Squares

Materials:
*I Hook (5.50MM)
*Caron's Simply Soft Yarn in Persimmon
*Scissors

-Chain 25
-Row 1: SC in 2nd chain from hook.  SC to end of row*. Ch 1, turn.
-Row 2-28: Repeat Row 1 to *.  Without cutting the string, SC around the entire square.  Sl st into first SC.  This will leave you with the regular square above.  You can either stop here (by tying off and weaving in the ends) or continue on and add ruffles.  If you're going to add ruffles, do not cut your string yet!

To add ruffles:
-Ch 3.  2 DC in same stitch.  3 DC in each stitch around the square.  Sl st into first DC made, tie off and weave in ends.

You can sew squares together in any matter that suits you best.  :)


Here is a strip of the squares after being sewn together.  I alternated the ruffled squares with the non-ruffled squares.  After sewing all the squares in strips, there are a few options.  I think the best option would be to leave a non-ruffled edge all around the blanket.  This may mean adding a border of non-ruffled squares to the entire blanket (which means you need to make a lot of extra squares) or, when ruffling the squares, leave one side unruffled (having only 3 ruffled sides).  When all of your squares are sewn together, Use the ruffling technique to make the edging for the entire blanket.

How do you like my new "ruffle" terminology?  Non-ruffled, ruffled, ruffling, unruffled...   *giggle*

I'll let you  know when my blanket is done and how I finished it off.  ;)